Simple MobX
This is a post that tries to explain the the basics of MobX. We’ll build a minimal working example with MobX. If you’re looking for proper MobX documentation then check official docs.
What is MobX
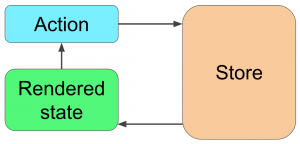
From documentation: Simple, scalable state management. Basically MobX is meant to handle and organize application state/data while being simple and scalable. Which it does pretty well. Let’s take a look at the diagram:

Let’s go through each diagram step by step and build a simple application.
State
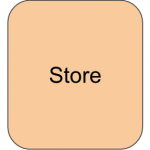
 In MobX you can have one or multiple states’ storages. Let’s go with one:
var store = mobx.observable({
    counter: 0
})
We initialize our store with just one state data - counter. Your object may be multi-level with multiple different attributes.
Rendering
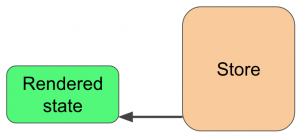
 MobX plays really well with React.js, but it may be used virtually with any renderer. Let’s use some plain JS:
<div id="counter">-</div>
function render(state) {
    document.getElementById('counter').textContent = state.counter;
}
Here we get the state and use it to update the view.
Actions
 We can directly change the state whan an action happens:
<button id="button">Increment</button>
document.getElementById('button').addEventListener('click', function() {
    store.counter = store.counter + 1
})
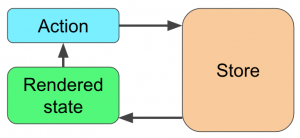
Here when we click the button, we increment the state’s counter.
State change
When state changes, we update our render:
mobx.observe(store, function() {
    render(store)
})
Final result
Comparison to Redux
MobX seems to be much simpler to write and reason about then the Redux. You write much less boilerplate than in Redux. But this comes at a cost of not knowing what exactly is happening inside of MobX. MobX code may be written in the same way as Redux code: with actions, action creators, async action creators… but it’s not mandatory. Over all it seems to be a great choise as long as you keep your code modular, tested and the flow unidirectional.